The Action at Rafa, 9 January 1917
The Battle at Rafa, (or more accurately the 'Action at Rafa') which took place on 9 January 1917, was a small affair that rarely receives any mention in accounts of the First World War. It was, however, a victory that ended the Sinai campaign of 1916.
During 1916 British and Commonwealth forces under General Sir Archibald Murray began pushing eastwards across the Sinai Peninsula from their defensive positions adjacent to the Suez Canal. Due to the desert climate, the advance was dependent on the construction of a water pipeline to support the troops. Reaching El Arish, mounted forces captured Turkish fortifications at Magdhaba on 23 December 1916.
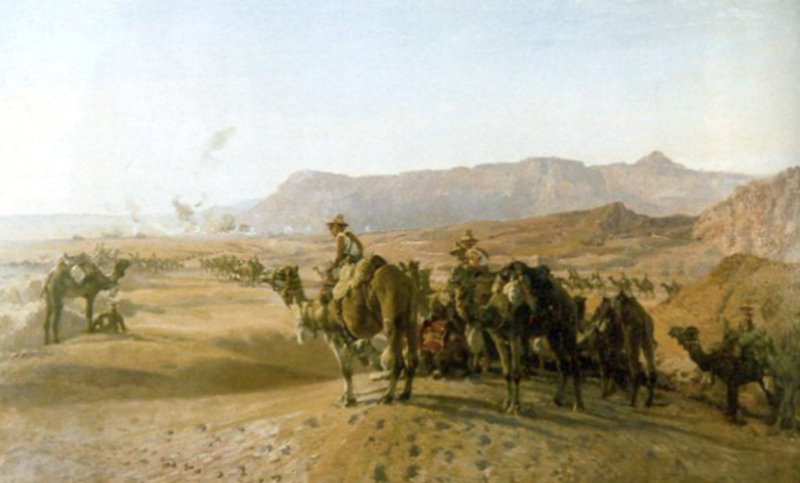
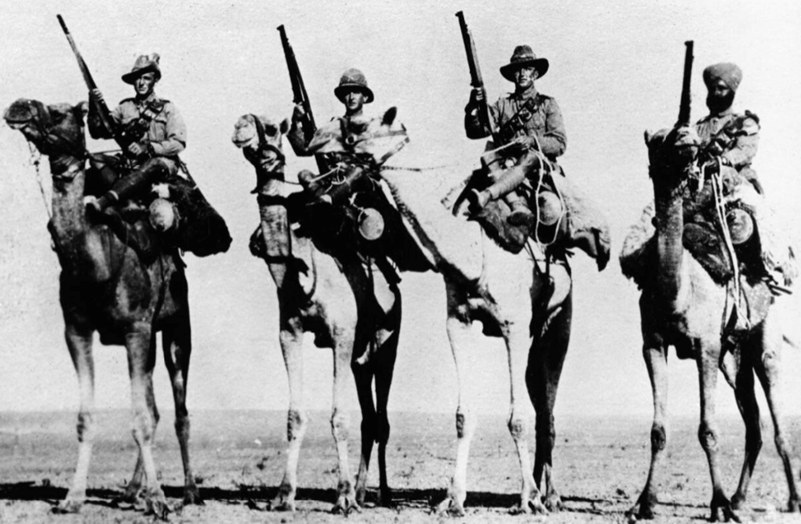
Keen to push on, Murray decided to attack the Turks at Rafa, on the Egyptian-Palestinian border. Murray assigned this task to the Australian and New Zealand Mounted Division which was led by Maj-Gen Sir Harry Chauvel, accompanied by Brigadier General E.A. Wiggin’s 5th Mounted Brigade and the Imperial Camel Corps Brigade led by Brigadier General C.L. Smith, VC.


Order of Battle
The Australian and New Zealand Mounted Division included the 1st Australian Light Horse Brigade (comprising 1st, 2nd, 3rd and 4th Australian Light Horse) and 3rd Australian Light Horse Brigade (comprising 8th, 9th, 10th, and 11th Australian Light Horse) and the New Zealand Mounted Rifles Brigade (comprising the Auckland Mounted Rifles, Canterbury Mounted Rifles and Wellington Mounted Rifles). The 2nd Australian Light Horse Brigade was not engaged in the action.
The 5th Mounted Brigade comprised 1/1st Warwickshire Yeomanry; 1/1st Royal Gloucester Hussars; 1/1st Queen’s Own Worcestershire Yeomanry.
The Imperial Camel Corps comprised two Australian battalions, one British battalion and a mixed Australian/New Zealand battalion.
The Action at Rafa
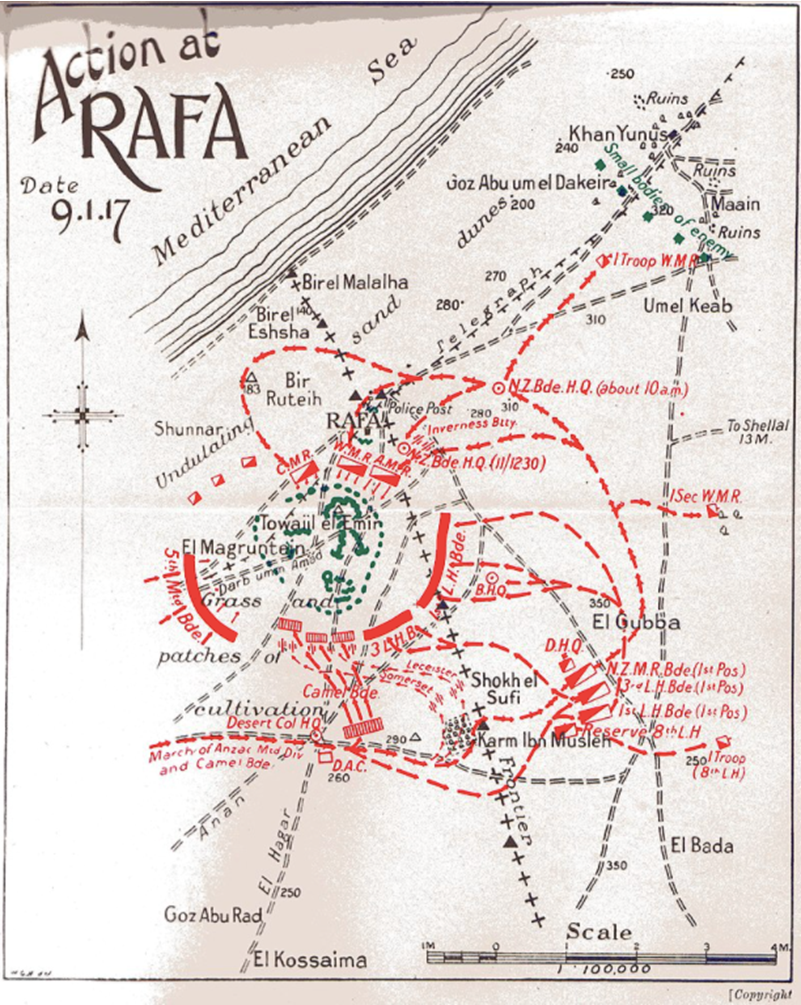
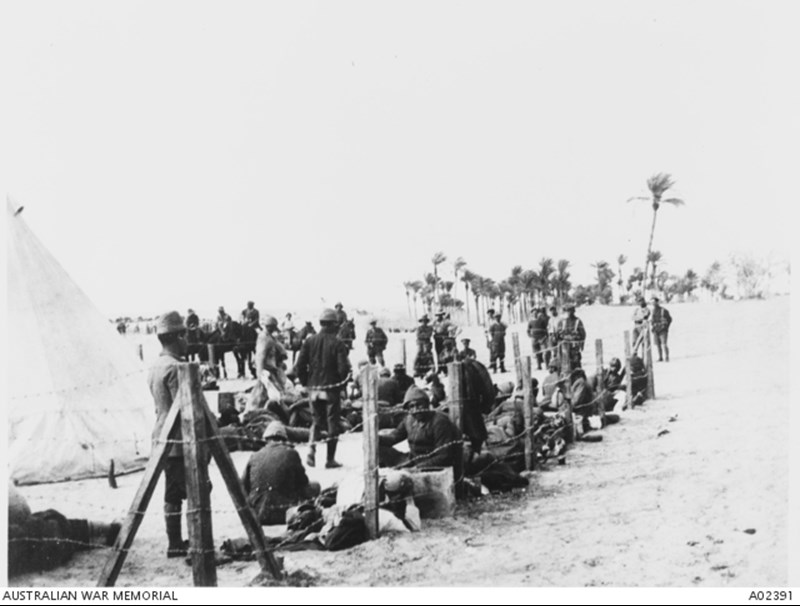
Just three miles south of Rafa the 2,000 strong Turkish force had constructed a defensive position at El Magruntein, on a rise known as Hill 255. Approaching Rafa on the morning of 9 January the Australian and New Zealand Mounted Division and the 5th Mounted Brigade together with three battalions of the Imperial Camel Corps Brigade isolated the garrison by cutting the telegraph lines to Gaza. The New Zealanders were sent to the south with instructions to attack the Turks from the east and north. Meanwhile the 5th Mounted Brigade moved in from the west. At 7am artillery opened fire on the Turkish redoubts.
Attack held up
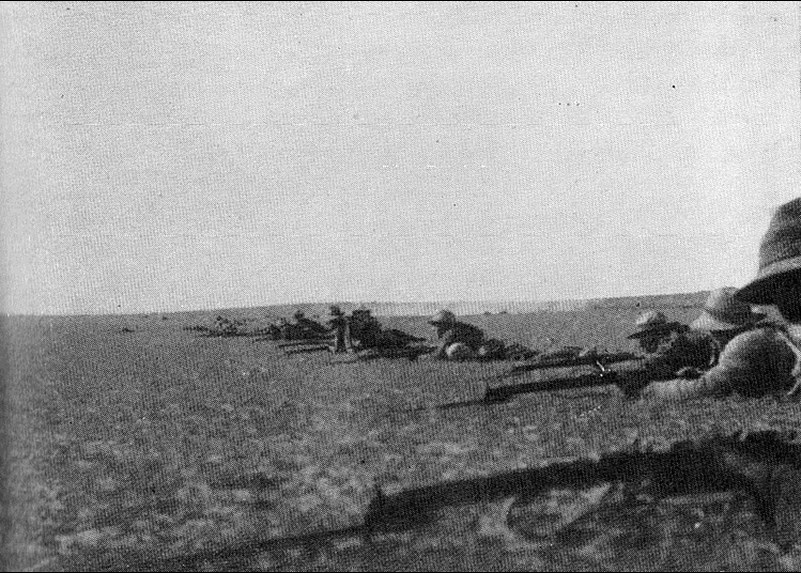
Advancing across open ground, the assault was held up as the Turks were able to maintain a high rate of fire; the British and Commonwealth forces began to run low on ammunition early in the afternoon.
Aware of the approach of a Turkish relief force, plans were made to fall back to El Arish. As evening approached several units launched final efforts against the Turks. Charging from the north, three New Zealand regiments attacked the main redoubt on Hill 255, supported by the Imperial Camel Corps and the regiments of the Australian Light Horse. These attacks succeeded in overcoming the Turkish opposition who began surrendering.
Turkish Losses
The Battle of Rafa cost the Turks about 200 killed, with possibly nearly as many again wounded and about 1500 taken prisoner.
Still concerned about the Turkish relief column, orders were given to begin falling back towards El Arish. The Turks became wary of leaving isolated garrisons on the Sinai frontier which resulted in them abandoning their positions outside Gaza.
British and Commonwealth Losses
Although most accounts suggest that the Allied losses were only around seventy, research undertaken for this article suggests the figure is in fact over one hundred. The Western Front Association is pleased to be able to honour these men for the first time in full on the ‘Rafa Roll of Honour’.[1]
The downloadable Roll of Honour below details the graves of all the men killed in this action, the grave detailed is at Kantara War Memorial Cemetery unless otherwise stated.

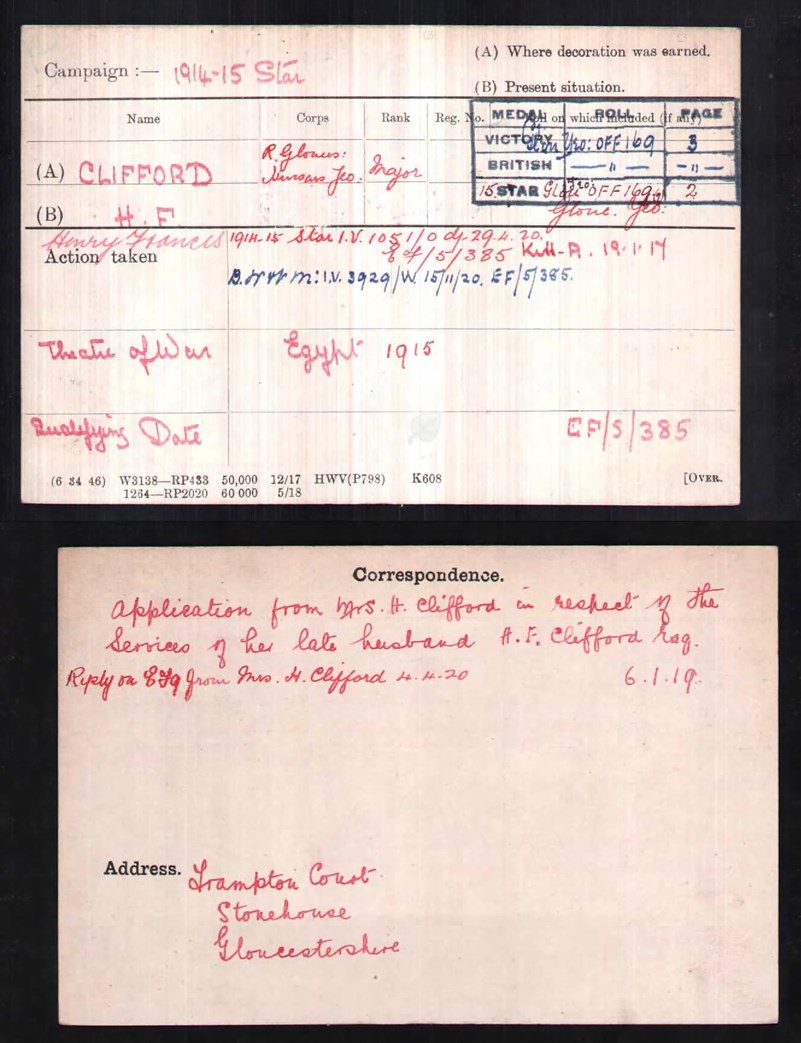
The most senior officer to be killed in this action was Major Henry Clifford of the Royal Gloucester Hussars.
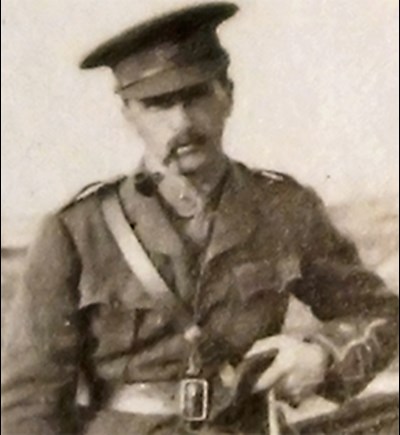
At the outbreak of war, he returned to his regiment, the Gloucestershire Yeomanry (with whom he had served in South Africa during the Boer war) with the rank of Major. In 1920, a memorial tablet to him was unveiled in Frampton Church.
Clifford's Medal Index Card is shown below. These cards can be accessed using the WFA members' Fold3/Ancestry access (WFA membership password required).
Amongst those killed were two brothers from New Zealand, Thomas and John Graham who died on 9 and 10 January respectively.
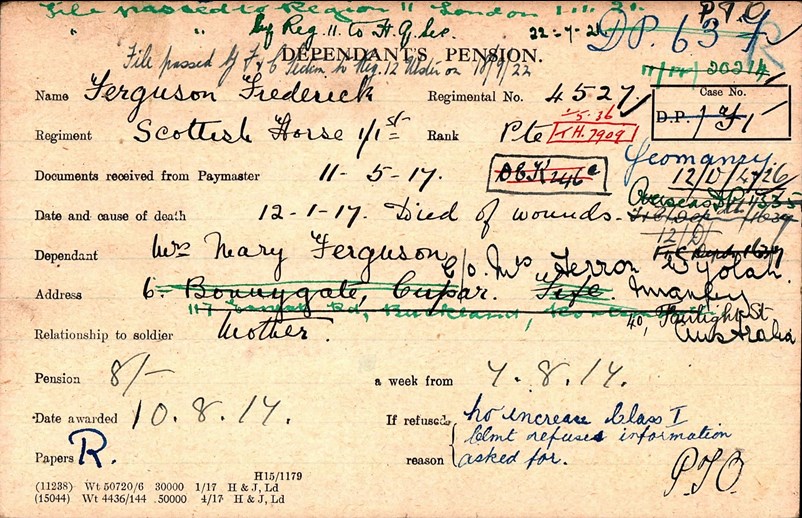
There are some interesting personal pieces of information that can be gleaned about some of the men who fell in this action, such as the various addresses recorded for Mary Ferguson, the mother of Frederick Ferguson of the Scottish Horse.
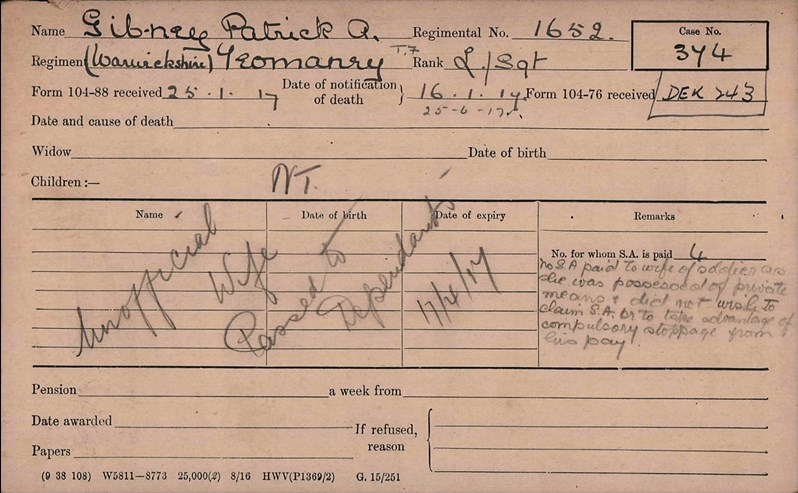
There are also two cards for Patrick Gibney. One of these stating that the 'unofficial wife' who was 'possessed of private means and did not wish to claim...'

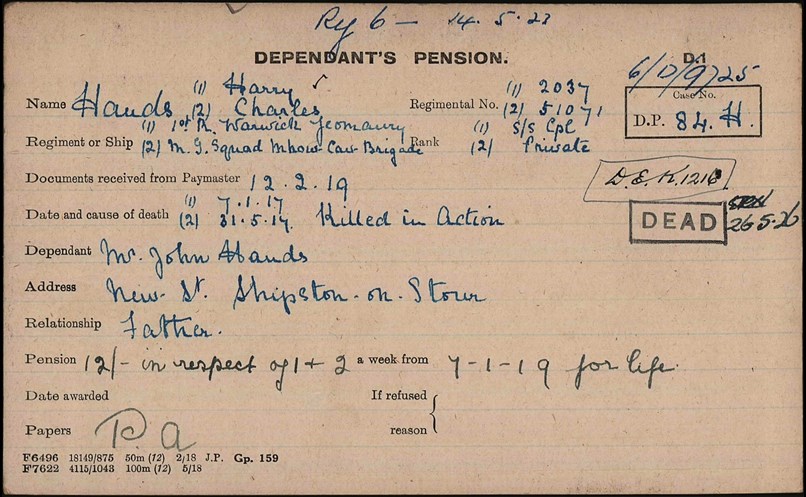
We see that Harry Hands had a brother who was also killed in the war (which is not evident from the CWGC entry for Harry)
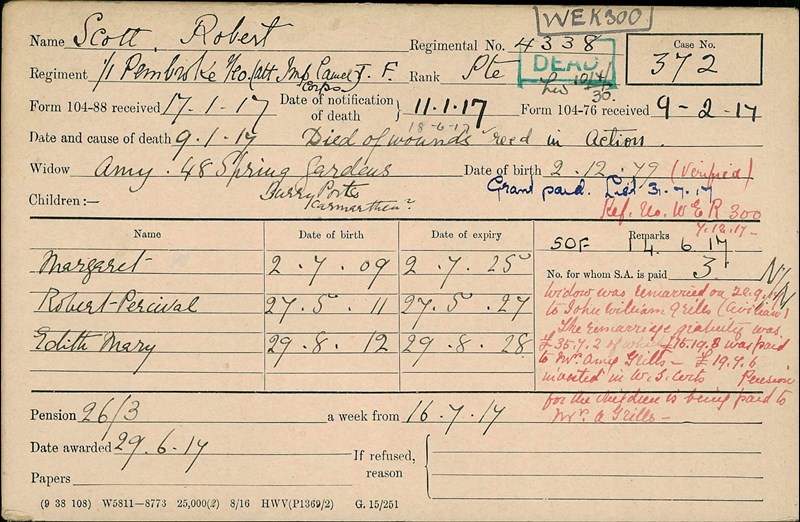
And the note on the side of the card for the pension card for Robert Scott tells us the 'widow was unmarried'
The above records form part of the WFA's Pension Record Collection - which can be accessed by WFA members' through the WFA web site here.
Aftermath
The British War Cabinet postponed the invasion of Palestine until later in 1917 because of commitments on the Western Front. Notwithstanding this policy, the British commander in Egypt, General Murray, decided to make an early attempt to capture Gaza, to clear the way for the main invasion – this led to three Battles of Gaza in March and April of 1917.


CWGC Burials and Commemorations of those killed at Rafa
The majority of those killed during the Action at Rafa are buried at the Kantara War Memorial Cemetery (click here for a link to a map of the location - which is adjacent to the Suez Canal).

Those men from the Australian and British forces with no known grave are commemorated on the Jerusalem Memorial. The missing from the New Zealand forces are commemorated on the Kantara Memorial.
Within Kantara War Memorial Cemetery there are also 341 war graves of other nationalities, many of them from a Polish hospital that was here in the Second World War. These are concentrated in a distinct Polish extension.
References
[1] Although five of the men listed are detailed as belonging to the Cheshire Yeomanry, Pembrokeshire Yeomanry and Lanarkshire Yeomanry, these men were all members of the Imperial Camel Corps. The Imperial Camel Corps contained the 26/Machine Gun Squadron which was made up of men from the 1/3rd Scottish Horse; one man from the Scottish Horse being killed at this time.
It has been impossible to say with certainty that the men from the Herefordshire Regiment and the British West Indies Regiment were killed during this attack. The balance of probability is that they were not. However, these men are named on the Roll of Honour.
There is one error on the CWGC database here: Private PG Holmes was not at this time a member 32nd Battalion AIF but was part of the Imperial Camel Corps.
Becoming a member of The Western Front Association (WFA) offers a wealth of resources and opportunities for those passionate about the history of the First World War. Here's just three of the benefits we offer:
The WFA regularly makes available webinars which can be viewed 'live' from home. These feature expert speakers talking about a particular aspect of the Great War.
Featured on The WFA's YouTube channel are modern day re-interpretations of the inter-war magazine 'I Was There!' which recount the memories of soldiers who 'were there'.
Explore over 8 million digitized pension records, Medal Index Cards and Ministry of Pension Documents, preserved by the WFA.
Other Articles


