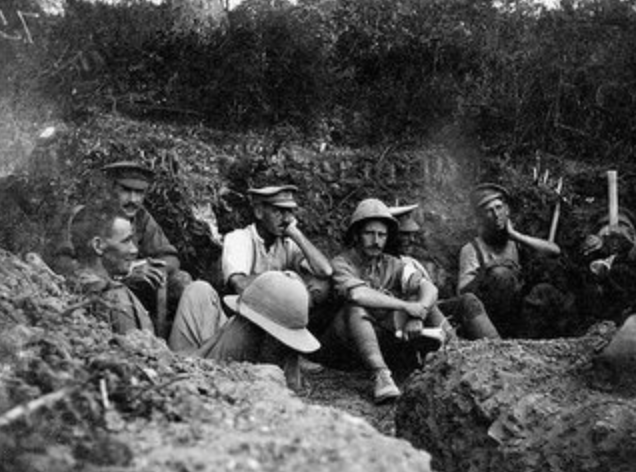
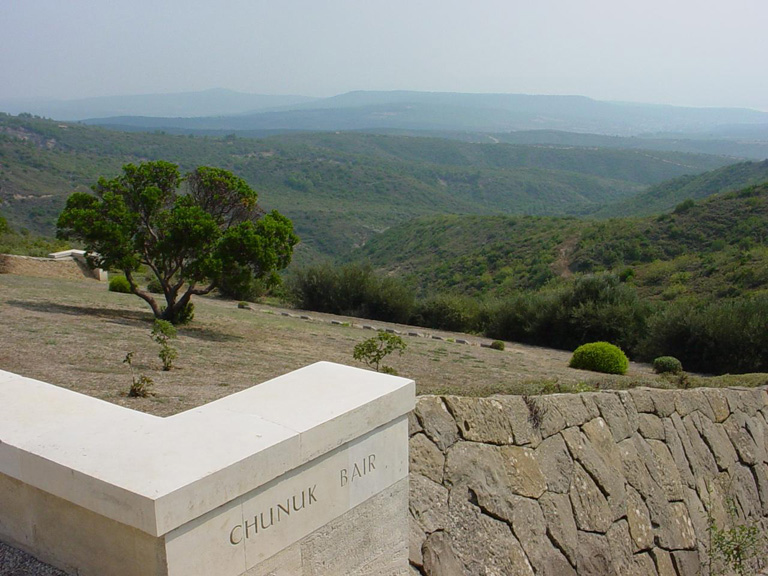
New Zealanders at Chunuk Bair
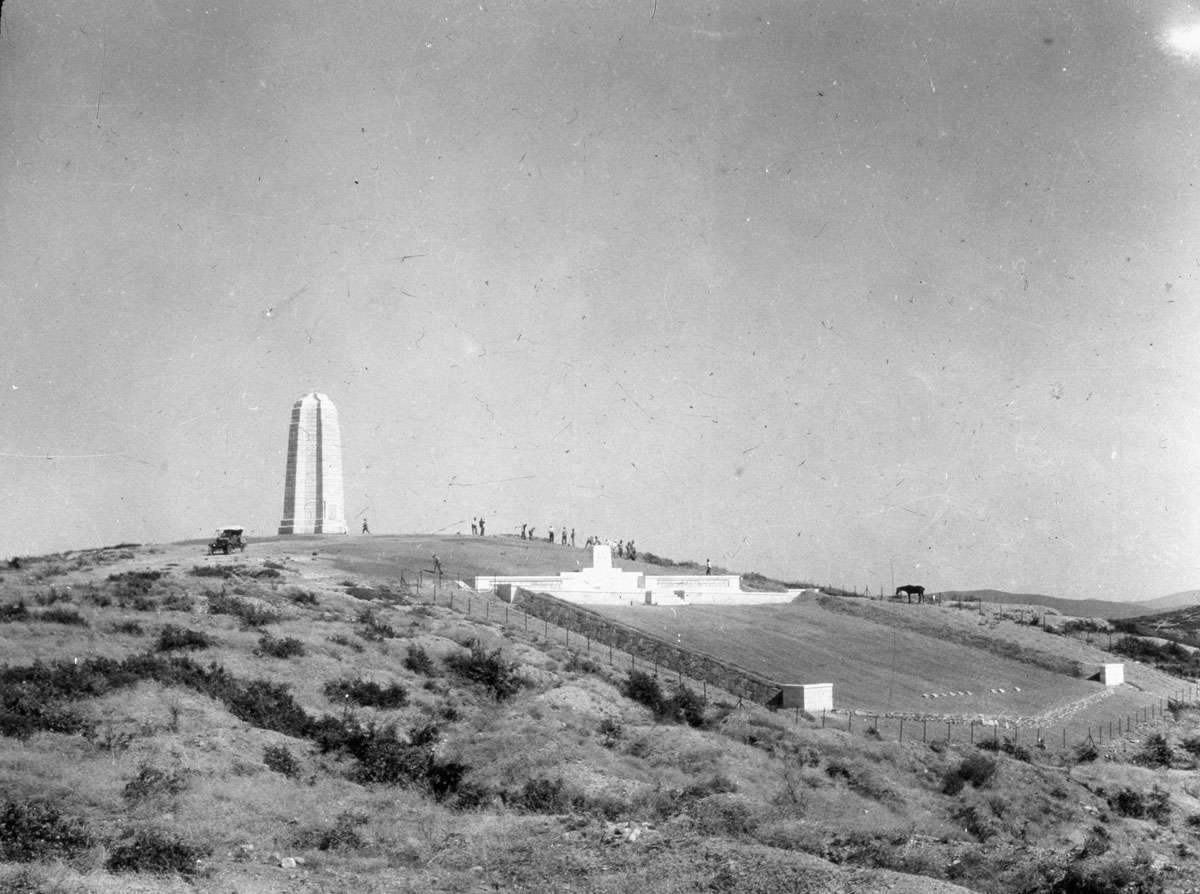
Chunuk Bair is one of the highest peaks on the Gallipoli peninsula. Standing at the top of this hill is a tall tapering stone pylon.
On one side of this monument records the fact that this was built to honour the soldiers of the New Zealand Expeditionary Force who fell here on 8th August 1915.
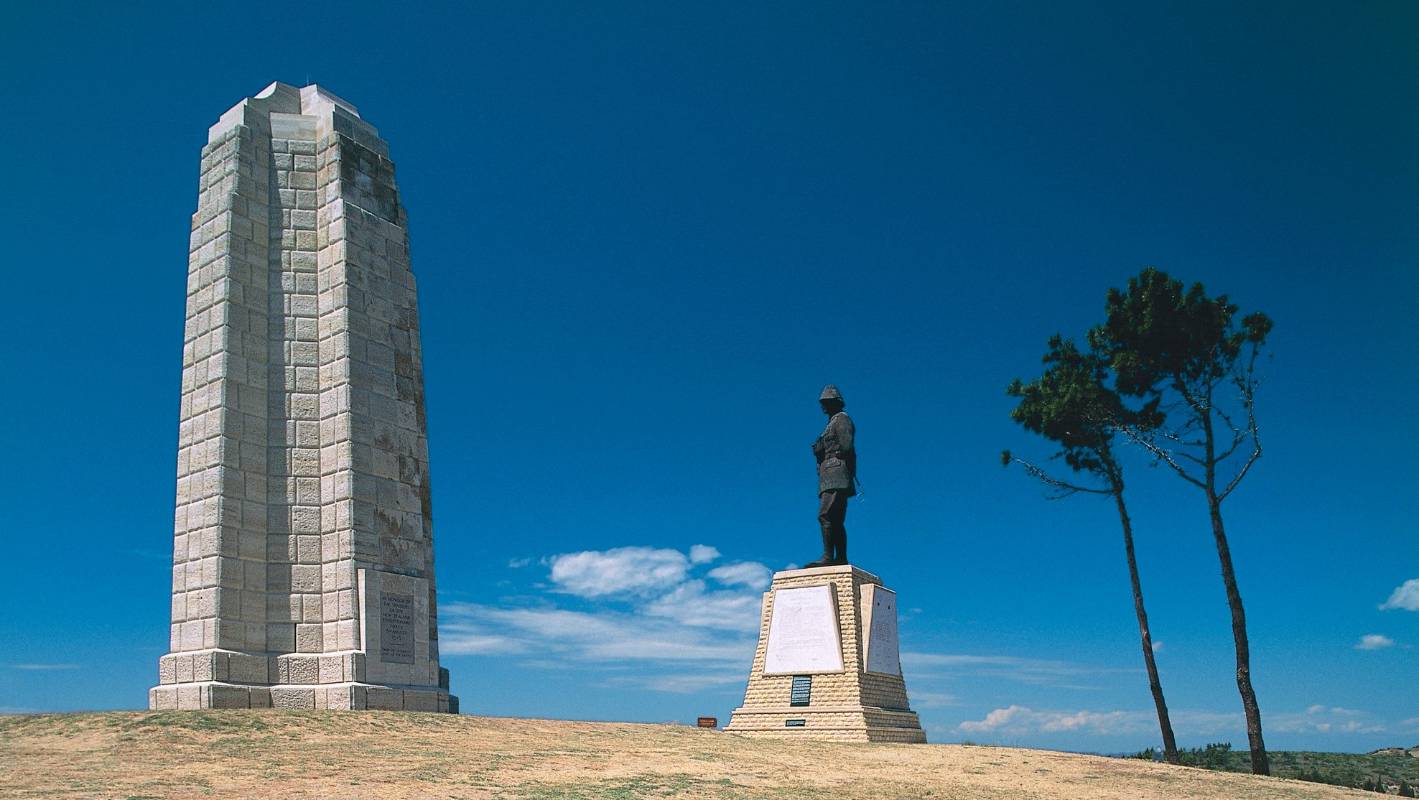

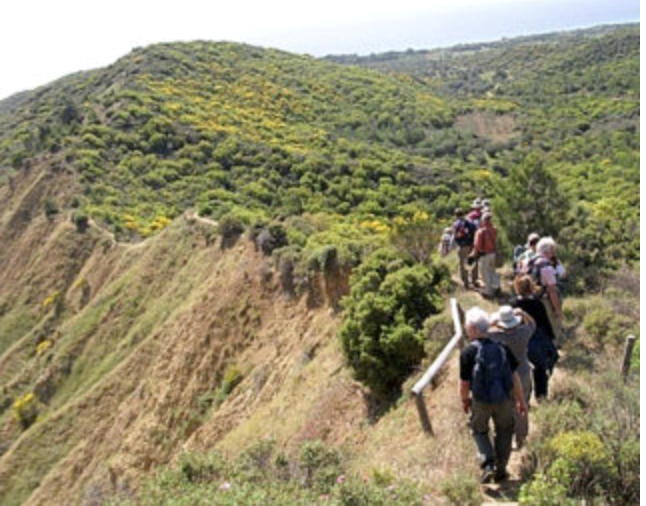
This memorial was built at a point overlooking the narrowest part of the Gallipoli peninsula. The height of Chunuk Bair and its position adjacent to the 'Anzac' sector of the peninsula ensured that the hill had strategic importance and explains how it became central to the events of early August 1915.
The background to the Battle of Chunuk Bair is complex and the details of the operation even more so, but the basics of the story of what happened here is described below.
The importance of Chunuk Bair and Hill 971
After the failure of the landings at Gallipoli in April 1915, it became increasingly apparent to the high command of the Mediterranean Expeditionary Force that in order to take the peninsula - and thus enable the Dardanelles Straits to be forced by the Royal Navy - a different approach was needed. Overlooking the northern half of the peninsula is the Sari Bair range of hills. The peaks of the ridge rise in a line to the northeast from Chunuk Bair (850 feet high) followed by Hill Q (900 feet high) and Koja Chemen Tepe (more often called Hill 971 - being its height in feet). These hills dominated the whole sector and - tantalisingly - enabled whoever held the hills to see the Dardanelles Straits.

Whilst Chunuk Bair offers a glimpse of the Straits, in August its main importance was the observation it provided over the Turkish supply routes in the valleys below. The peaks also dominated the Turkish defences surrounding Anzac on the continuation of the ridge and its spurs running south. Securing the high ground would allow these defences to be outflanked and allow a breakout from the Anzac perimeter.
By August the allied forces at Gallipoli had grown, with the recent arrival of three 'Kitchener' Divisions, from five to thirteen divisions. Plans were laid for a major new offensive.
The idea was formed that once the heights of the Sari Bair range had been taken, a link up with the troops holding the Anzac sector further south would be possible. Once these forces had joined up, there would be a drive across the narrow peninsular, which would cut off the Turks in the south (the Helles sector) and enable the campaign to be won.
The plan grew from a limited attack to a very ambitious operation involving complicated preparations, with only a short time to organise matters before the attack. The plan called for a landing of 20,000 men on a new front (at Suvla) and disembarkation of another 20,000 troops at Anzac - all of this to be undertaken from the sea.
Diversionary attacks would take place at Helles and Suvla, but the most significant aspect of the operation was the planned breakout from the Anzac sector. The offensive would commence in the evening of 6 August with an attack on the Turkish positions at Lone Pine. This was intended to draw Turkish reserves and prevent their use in the main effort on Chunuk Bair. Next morning there would be attacks at the Nek, Quinn's Post and Pope's Hill. Simultaneously to the attacks on the right flank at Anzac there was to be an ambitious two-column advance at night up the unoccupied, complex series of gullies on the left flank of Anzac leading towards the Sari Bair range.
It is this 'left hook' that was to result in the attack at Chunuk Bair by the New Zealanders of the New Zealand and Australian Division - a unit that had been on the peninsula since April. They would be reinforced by two 'Kitchener' battalions and an Indian brigade. The two-column advance on the left would be one of the most ambitious attacks of the First World War.
The New Zealand advance
The main attack was in two phases. The battalions from one of the newly arrived 'Kitchener' Divisions and the New Zealand Mounted Rifles Brigade were to seize the foothills below the Sari Bair range in a night attack. Following this initial operation, the main advance was to be along the ridge line from Old Number 3 Outpost, to Table Top, up to Rhododendron Ridge, to the Apex and then a point known as the Pinnacle.
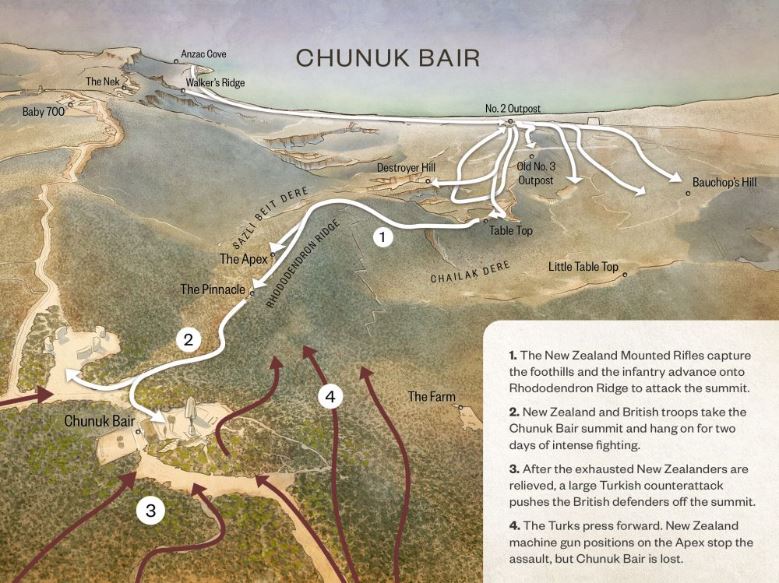
On the night of 6 August the attacking troops moved off. On the right, New Zealand Mounted Rifles and the Native Contingent seized Old No. 3 Post, Table Top, Destroyer Hill, Bauchop’s Hill and Little Table Top. This opened the way for the New Zealand Infantry Brigade which formed the 'Right Assaulting Column' to pass through and seize the high ground.
On the left, a British brigade cleared the foothills and a combined Australian and Indian force (forming the 'Left Assaulting Column') passed through and headed east to secure Damakjelik Bair, Hill 971 and Hill Q.
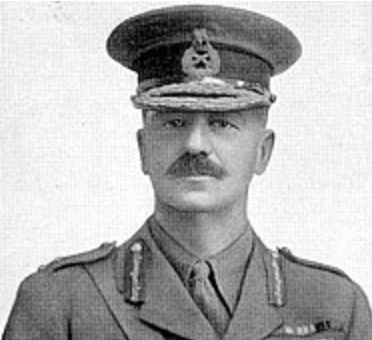
The New Zealand Infantry Brigade (the 'Right Assaulting Column'), split into two groups. This was commanded by Brigadier-General Francis Johnston. Some accounts state Johnston was 'ill' on the night of the attack. Other sources suggest that he was 'fighting drunk'.
Early on the morning of 7 August, the New Zealanders advanced via two routes and joined up on Rhododendron Ridge for the assault on Chunuk Bair. The Canterbury Battalion lost its way and the Otago Battalion was scattered by the night fighting, but by daybreak part of the brigade was on the Apex - within half a mile of the lightly defended summit of Chunuk Bair.
Johnston halted the advance to wait for the remainder of the brigade. This delay was a fatal mistake; by the time the advance resumed, Turkish reinforcements had arrived.
Brigadier-General Francis Johnston was instructed to mount an immediate attack and so ordered the Auckland Battalion forward. They suffered 300 casualties as the troops tried to move forward against stiffening Turkish resistance. The advance of 100 yards took them to a small knoll, known as the Pinnacle. Johnston ordered the Wellington Battalion to continue that attack but its 57-year old Commanding Officer, Lieutenant Colonel William Malone, refused to carry out the order and said he would attack again at night-fall.

During the 7 August the New Zealanders were reinforced by two British battalions; the 7th Battalion Gloucestershire Regiment and the 8th Battalion, Welsh Regiment (a pioneer unit).
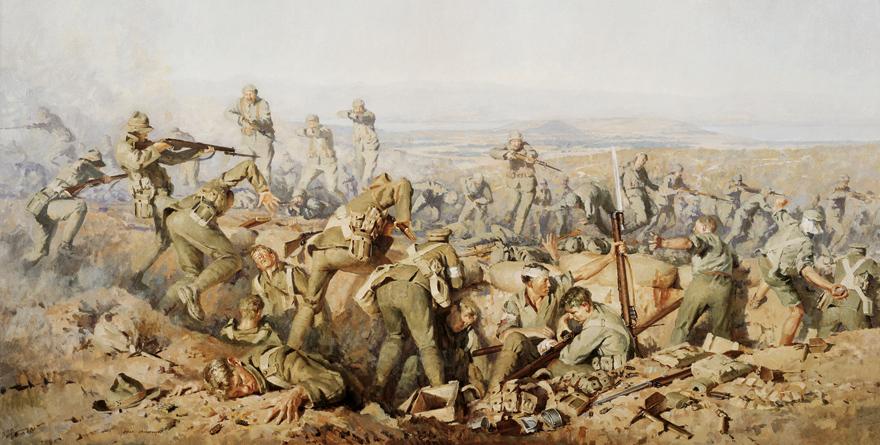
8 August - the taking of Chunuk Bair
In the early hours of 8 August, well before dawn, a bombardment of Chunuk Bair took place, fired by warships standing off-shore and New Zealand howitzers from within the Anzac perimeter. Malone's Wellington battalion, with the 7th Gloucesters closely following, reached Chunuk Bair with virtually no opposition - the bombardment had done its job, and forced the Turks off the summit. The allied troops occupied a shallow Turkish Trench, that was just 18 inches deep.
As the Turks had found earlier, only shallow scrapes could be dug in the hard, rocky ground and the peak was now exposed to Turkish machine gun and sniper fire from Battleship Hill to the south and Hill Q to the north.
Turkish counter-attacks commenced at daybreak, and the and the enemy were able to advance to within 20 yards of the defenders without being seen. The New Zealanders fought desperately, firing their rifles until they were too hot to touch. Having taken some New Zealand positions, the fighting continued with the bayonet. Reinforcements from the Auckland Mounted Rifles only reached the Wellington line in small numbers in the late afternoon.
The fight raged all day until the summit and seaward slopes were clogged with the New Zealand dead. Around 5 pm Malone was killed by an artillery shell, probably fired from a New Zealand howitzer.
Victoria Cross
At all phases of the operation, it was vital to keep communications open, and one of the men whose responsibility this was, earned the only Victoria Cross to be awarded during the battle.
Corporal Cyril Bassett recalled after the war:
"We had to make short, sharp dashes under enemy fire – mostly rifle fire from snipers. It was pretty tough, and on the first day I got one through my tunic collar, another through my pocket. Both my bare knees were just grazed, and a spent bullet lodged in my boot. So I reckon there must be some guardian angel looking after me, especially as one man was shot dead in front of me and another wounded just behind."
Turkish artillery fire cut the telephone lines repeatedly, but Bassett and his fellow linesmen went out day and night to repair them.
"I followed our line all the way to a point where I could see some shelling, and happened to come across three breaks in the line. Two of them were very close together and the other was twelve feet away. I had no trouble mending the first two breaks but the other was causing me a lot of trouble. It was in the open and I thought to myself that if I had to go out there I was going to be sniped. I was face down and belly down and as near as I could get to Mother Earth."
Source: Ngā Tapuwae New Zealand First World War Trails
The citation for Bassett's Victoria Cross read as follows:
No. 4/515 Corporal Cyril Royston Guyton Bassett, New Zealand Divisional Signal Company. For most conspicuous bravery and devotion to duty on the Chunuk Bair ridge in the Gallipoli Peninsula on 7th August, 1915. After the New Zealand Infantry Brigade had attacked and established itself on the ridge, Corporal Bassett, in full daylight and under a continuous and heavy fire, succeeded in laying a telephone line from the old position to the new one on Chunuk Bair. He has subsequently been brought to notice for further excellent and most gallant work connected with the repair of telephone lines by day and night under heavy fire.
The London Gazette, No. 29238, 15 October 1915
Private Rikihana Carkeek, Native Contingent, NZEF
Private Rikihana Carkeek was a Maori soldier of the Native Contingent. His section moved up Rhododendron Spur to support the assault on the summit of Chunuk Bair. By dawn on 8 August, Carkeek’s machine gun was in a very exposed position.
"All the rifle fire of the Turks seemed to converge on our position. We were at the apex of the line. Bullets seemed to be whizzing and sputtering from all sides. Private F. Hawkins took charge of the gun and I moved up into position to feed the belt. Shortly afterwards he was out of action – shot through the wrist. Then I took charge and opened fire. I also did not reign long for I was shot through the body at the base of neck. I lay there for what seemed hours then the Turks started to shell us with shrapnel. I made longing and occasional glances down at the hospital ships lying in anchor at the bay and was therefore determined to crawl down to the beach."
Source: Ngā Tapuwae New Zealand First World War Trails
Rikihana Carkeek survived the war and passed away in 1963.
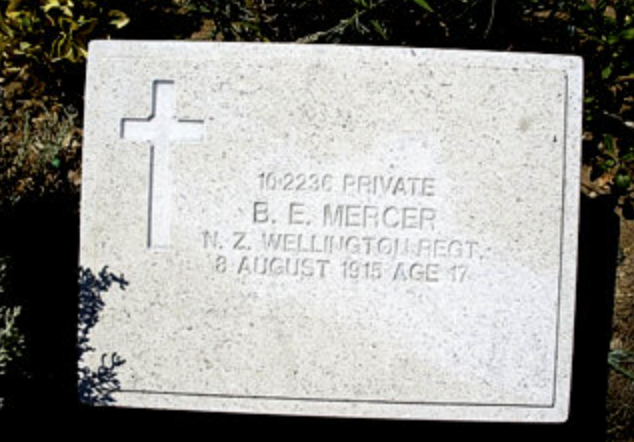
Young Soldiers
One of the youngest soldiers to take part in the attack was Basil Mercer. Aged just 17 Basil was - along with his brother Cyril - a member of the Wellington Battalion. Basil was killed during the fighting at Chunuk Bair.
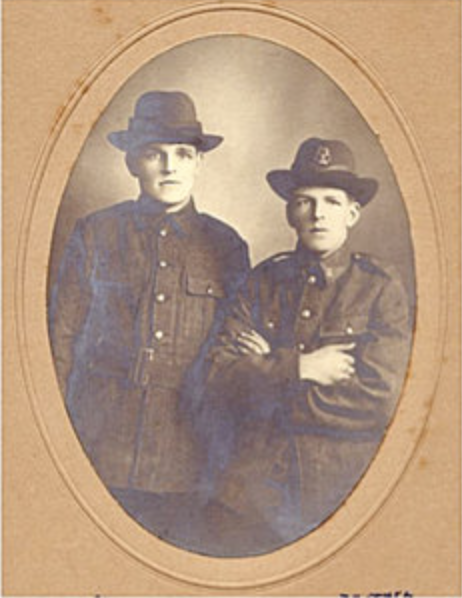
Cyril, who was also in the Wellington Regiment badly damaged a shoulder playing rugby en route to Gallipoli and did not take part in the campaign.
Martin Persson was also seventeen years old and another fatality among the Wellington Regiment.
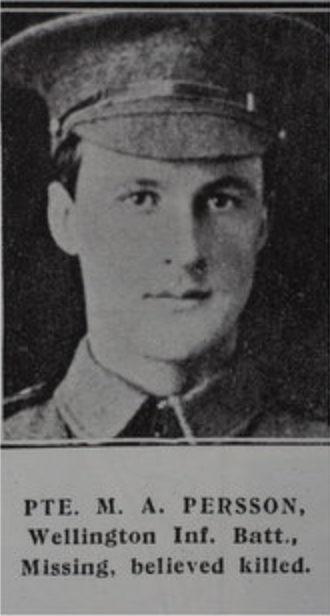
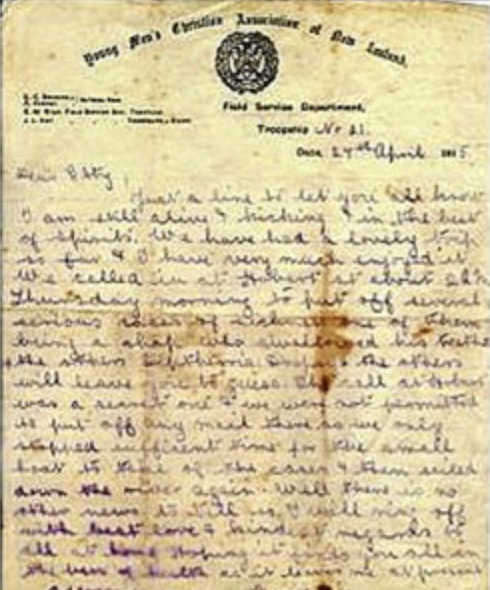
A letter home from Persson (who was one of 17 siblings) survives.
The letter, dated 27 April 1915 includes:
"Just a line to let you know I am still alive and kicking and in the best of spirits. We have had a lovely trip so far and I have very much enjoyed it."
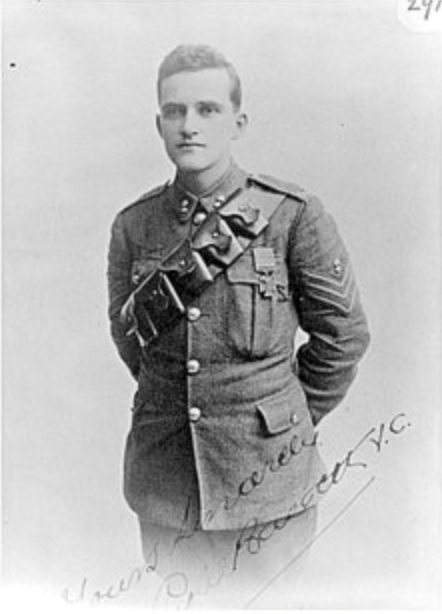
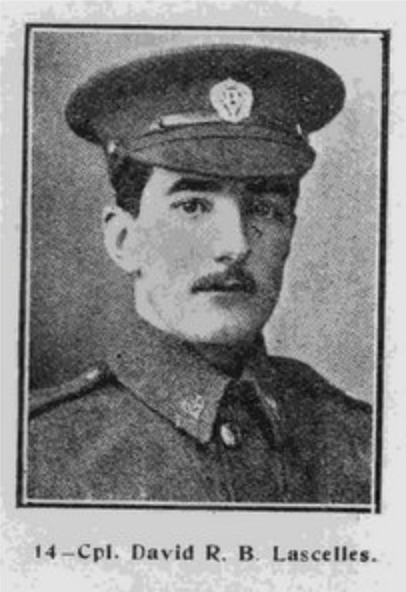
Another of the men killed at Chunuk Bair was Serjeant David Lascelles, aged 25. Before the war he was an accountant in Napier. Also a member of the Wellington Regiment, he had been wounded in May; the bullet wound he received in the arm was not sufficiently serious to prevent him taking part in the August attack.
The New Zealanders of the Wellington Regiment were not the only allied soldiers on the summit of Chunuk Bair.
Chunuk Bair
Both the 7th Gloucesters and 8th Welsh Pioneers followed up the Wellington attack and were to occupy positions on either flank with the Wellingtons in the centre. It was daylight when the battalions moved forward and both suffered heavy casualties and were driven back by the immediate Turkish counterattacks and although some reinforced the New Zealand line, the bulk of the fighting on 8 August became a New Zealand battle. The War Diary of the 7th Gloucesters gives an idea of the losses incurred on 8 August:
Every officer and every CSM and CQM Sgt were either killed or wounded and the Battalion consisted of groups of men being commanded by junior NCOs or Privates....Casualties in the ranks: (approximately) Killed: 45 Wounded: 145 Missing: 190."
Among the senior NCOs killed in the battalion was Company Sergeant Major Reuben Hart.
The other British battalion to reinforce the New Zealanders was the 8th Battalion, Welsh Regiment.
2nd Lieutenant Walter Evan Evans has left a detailed account of the action, which describes the attack.
When we arrived on top of Rhododendron Spur and passed over our own trenches there was about 500 yards of open country before one reached the foot of Chunuk Bair. The Wellingtons went over this in the dark and lost very few in the attack itself. The Gloucesters hung back and lost heavily through this. We going up in the light lost very heavily before we even reached the top of the hill. When we got on to the top of the ridge we found many of the Gloucesters lying down there.
We pressed on through them and so became disorganised as some men got through faster than others and some stayed behind. When we were through, Captain Gwyer and myself, we went to the right and got down into the Sari Bair. I then had with me about 20 men of my platoon and about 30 others belonging to different companies and some of the Gloucesters.... Captain Gwyer was killed by a shell when quite close to me... The summit of Chunuk Bair was taken but they were driven off and we held the captured Turkish trench. When this was taken no dead Turk was found in it thereby showing us that during our bombardment the Turks kept out of their forward trenches and only came into them again when the assault was delivered.
Passage from the Simon Jervis collection courtesy of "High Wood" (pseudonym) via the Great War Forum.
The 8th Welsh suffered 160 fatalities on 8 August. The 7th Glosters fared even worse, taking 190 fatalities on this day.
Meanwhile, New Zealand fatalities between 6-10 August included:
- Wellington Regiment - 400 fatalities and 300 wounded,
- Auckland Regiment - 84 fatalities and 230 wounded;
- Otago Regiment - 113 fatalities and 214 wounded;
- Canterbury Regiment 78 fatalities and 268 wounded,
- a total of 1714 casualties in the New Zealand Infantry Brigade.
- The Auckland Mounted Rifles suffered 80 fatalities and 144 wounded;
- Wellington Mounted Rifles, 41 fatalities and 105 wounded.
After dark on 8 August the Otago Regiment and the Wellington Mounted Rifles arrived to reinforce the 50-70 men of the Wellington Regiment and Auckland Mounted Rifles who, with the few men of the Gloucesters and Welsh Regiment, were still holding the line. For the wounded, evacuation would prove to be a terrible experience. Some took three days to be transported to the beach.
The following days
The Otago and Mounted Rifles held the seaward slopes below the crest all through 9th August, enduring Turkish artillery fire and repelling counterattack after counterattack. As night fell on the 9th August, the remaining New Zealanders moved back to the Apex and were replaced by two 'Kitchener' battalions, the 6th Battalion Loyal North Lancashires with some men from the 5th Battalion, Wiltshire Regiment.
On the morning of 10 August the Turks delivered an overwhelming counter-attack which overran the defenders by sheer weight of numbers.
There were about 1,400 defenders on or below the summit of Chunuk Bair with another 3,000 or so in positions at The Farm. As the Turks swept over the summit it is thoughts that all the men here were either killed outright or driven into the steep valleys where they were killed later. The Turks headed down Rhododendron Spur towards the Pinnacle, driving the 'Kitchener' troops before them. New Zealand machine gunners positioned at the Apex shot down the Turks as they tried to continue down the spur, but - unable to discriminate allied soldiers from Turks - the machine gunners killed many from their own side.
Summary
Taking and holding Chunuk Bair was the principal New Zealander objective. For a brief period between 8-10 August the Wellington Battalion held the crest with a view of the Dardanelles Straits, just five or six miles away.
Had the crest been held and expanded it promised the possibility of a breakout from the Anzac perimeter. This was far short of the goals envisaged at the landings on the 25th April and there was little prospect or resources for a land campaign further towards Constantinople.
No one could have asked more of the soldiers of the British Empire who fought in August, the failure was one of command. Nevertheless in New Zealand terms the battle for Chunuk Bair is rightly remembered as a New Zealand epic and is marked by the sole national battlefield monument on the Peninsula.
Chunuk Bair Cemetery
Very few men who were killed during the attack at Chunuk Bair were able to be identified when the battlefields were cleared and the cemeteries made permanent. Of the 632 burials at Chunuk Bair Cemetery just ten men are identified. Of those few identified, the two 17 year olds Mercer and Persson are known to be buried here along with Sergeant Lascelles. Another five of the identified graves here belong to New Zealand soldiers.
Above them the New Zealand Memorial to the Missing lists 853 New Zealanders who have no known graves.
Further Reading
Further details of the New Zealand contribution to the campaign is available in Christopher Puglsey's Gallipoli: The New Zealand Story Considerable detail of the New Zealand attack can be read from the online version of The Wellington Regiment (NZEF) 1914 - 1919
An excellent book by WFA member Stephen Chambers is entitled Anzac: Sari Bair
Free App available
Some of the stories featured in this article can be found on the superb Ngā Tapuwae Gallipoli app which is free to download. One of the contributors to this resource is The Western Front Association's Vice President, Lt-Colonel (ret'd) Christopher Pugsley. The app is available from the Ngā Tapuwae web site.
Other resources relating to Rikihana Carkeek are on the nzhistory.net.nz web site
Research possible on individual soldiers
The New Zealand Government has a resource that enables research into individual New Zealand Soldiers.
I am very grateful to The Western Front Association's Vice President Lt Col (ret'd) Christopher Puglsey for his assistance in writing this article.
Becoming a member of The Western Front Association (WFA) offers a wealth of resources and opportunities for those passionate about the history of the First World War. Here's just three of the benefits we offer:
With around 50 branches, there may be one near you. The branch meetings are open to all.
Utilise this tool to overlay historical trench maps with modern maps, enhancing battlefield research and exploration.
Receive four issues annually of this prestigious journal, featuring deeply researched articles, book reviews and historical analysis.


