


This article could almost be taken from a 'Boy's Own' story of Great War adventures. It features a daring raid by one of the world’s richest men to rescue a group of sailors whose ship had been torpedoed and who had been handed over to a group of North African tribesmen, by whom they were held in deplorable conditions for over four months.
At the outbreak of the Great War, despite the size of the Royal Navy, a large number of vessels were needed to undertake patrol work. As a result, numerous merchant ships were requisitioned, supplied with Royal Naval personnel to supplement their crews, armed with obsolete guns and tasked with undertaking dangerous patrols to try to ensure the German U-boats were kept at bay. One of these vessels was the SS Hibernia.
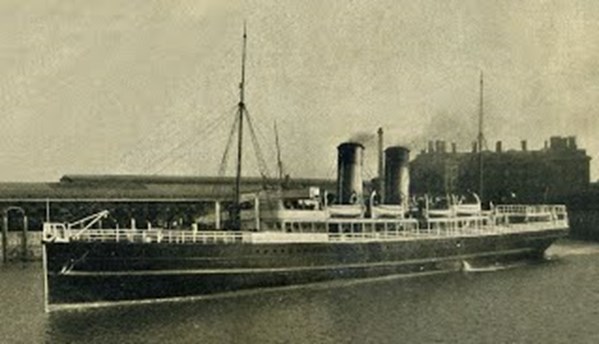
A former steamer that, before the outbreak of the war, plied her trade between Holyhead and Ireland, the Hibernia was taken over by the Royal Navy and renamed HMS Tara, an Armed Boarding Steamer. The Tara was commanded by Captain Rupert Gwatkin-Williams, and she continued to serve in the Irish Sea, where, because of her new and powerful radio, she was constantly on duty, on the look-out for German submarines.
Somewhat to the crew’s surprise, they were ordered to transfer to the Mediterranean, arriving in Alexandria in October 1915.
The story of what happened only a few days later, is recounted in Prisoners of the Red Desert, written by Captain Gwatkin-Williams:
The morning of Friday, 5th November, dawned calm and bright, and it found the Tara nosing smoothly into a gentle swell, on her way to make her daily visit to Sollum.
There had been several SOS calls a hundred miles or so to seaward of us on the preceding day, so we knew that at least one submarine was somewhere about. We were consequently very much on the alert, but I do not think one of us ever dreamed for a moment that a U-boat would visit this God-forsaken, out of-the-way corner of the Mediterranean, where there was no shipping to attract him… And then the thing happened…A hoarse shout, resonant with excitement and agitation, electrified us; it was the man on the mast-head look-out who had sighted something… Overturning chairs and tables… looking to the starboard in the direction indicated we say, and knew for what it was, the impending danger.
Probably very few of my companions (they being mercantile officers) had ever before seen a running torpedo…The white line, pointing direct at us like a finger-post, its nearer extremity not three hundred yards away. Realising that…we should be hit [and] that should certainly sink very quickly, I put my hands to my mouth and roared “Away all boats!” Thus it was that before the torpedo could strike home the men were already tumbling up from below.
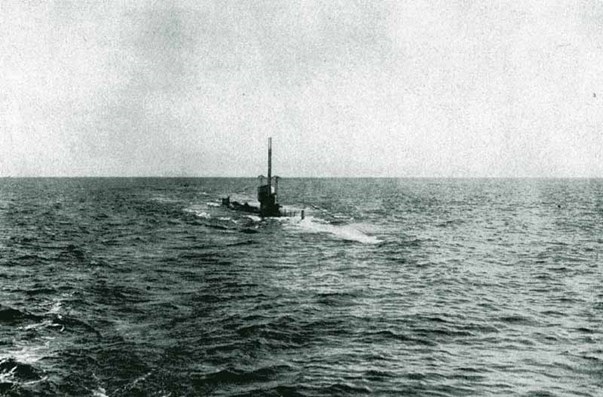
Gwatkin-Williams was not to know that he had been attacked by the most successful German submarine commander in history, who was at the time in command of U-35.
He goes on to describe how the wireless operator tried to send an SOS signal, but to no avail because the equipment was destroyed in the explosion. He also tells how he and others including the gun crew stayed on board, waiting for the submarine to surface. Gwatkin-Williams also describes the seventeen year old telegraphist:
“…rolling his steel chest of confidential books (which were too heavy for him to carry) down the ladder and over the ship’s side. Eventually they spotted the periscope of the submarine… Crash went our little six pounder and at the third shot we got the range to a nicety and proceeded to plaster shell around it.”
A number of men were killed, mostly those in the engine room which took the force of the torpedo’s explosion. Many of these men are from Holyhead, the port from which the Hibernia had sailed in peacetime, only a few months before. None of these men have a known grave, and are listed on different memorials.
Fred Barber, James Hutton, John Ellis Jones, Thomas Robert Jones, William Jones, John Parry, Robert Phillips, and Owen Williams are all commemorated on the .
James McKinven, Richard Phillips, and Griffith Hugh Roberts are named on the Portsmouth Naval Memorial.
Walter Jackson, being a civilian is named on the Chatby Memorial, which is located in Alexandria.
With the Tara sinking, Captain Gwatkin-Williams and the gun crew also abandoned ship and they and the other survivors (93 in total) were picked up by the submarine.
The German U-boat commander, Arnauld de la Perière (a German of French ancestry) headed north west to the port of Bardia (Bardiyah).
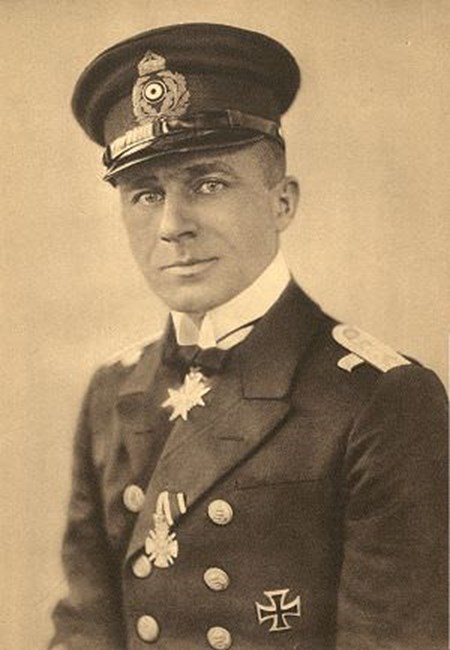
Arnauld de la Perière commanded the U-35. He made 14 voyages with this submarine, sinking 189 merchant vessels. He was awarded the Iron Cross and the Pour le Mérite (the German equivalent of the VC).
The lifeboats were towed behind the U-35. Once they were at Bardia, the crew of the Tara were handed over to locals who were of the Sennusi tribe. Gwatkin-Williams describes that happened next:
“As we approached the shore, the German flag under which we had been torpedoed was hauled down and, in its place, the blood-red flag and white crescent of Turkey floated from the periscope. As we got nearer still, an entrance opened in the cliffs like an Aladdin’s cave and, proceeding through this, we found ourselves in an enclosed stretch of water of about the same size and shape as Lulworth Cover, near Weymouth in Dorset.”
Captivity
This was the start of the crew’s captivity at the hands of the Senussi. Held under harsh conditions, which further deteriorated, the crew were marched into the desert. Before this, however, one of the survivors who had been injured, died. Gwatkin-Williams details this in his book Prisoners of the Red Desert:
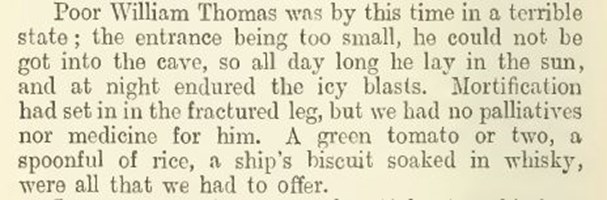
He continues:
Quartermaster William Thomas has no known grave and is commemorated on the Chatby Memorial.
After an eleven day march, during which the prisoners were often denied food and water, they arrived at Bir Hakkim and were there briefly incarcerated in a small dry well which was about 18 feet in diameter at the base.
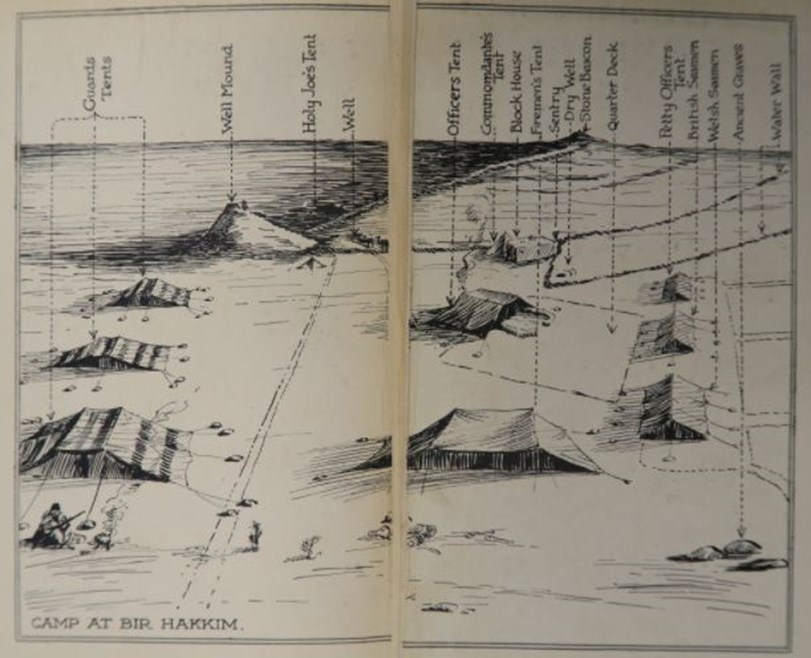
Above: An image from ‘Prisoners of the red desert’ by Capt. Gwatkin-Williams
In increasingly desperate circumstances, two prisoners George Cox and John Hodgson died in early January 1916 due to severe malnutrition. Two more of the Tara’s prisoners died in late January and early February, the first was Robert Williams, the chief engineer of the Tara (extract: immediately below), and then Owen Roberts (extract: further below).
Cox, Hodgson, Williams and Roberts are buried in adjoining graves at Alexandria (Hadra) War Memorial Cemetery.

Above: Alexandria (Hadra) War Memorial Cemetery
In late February, Gwatkin-Williams, despite his weakened state, made an audacious bid to escape. He was free for a few days before he was captured. Unbeknown to the prisoners, events were taking place in the Western Desert which would have a direct bearing on their captivity.
The Western Desert Campaign in World War 1
As part of the Turkish attempt to take the Suez Canal, in the summer of 1915 the Ottoman Empire persuaded the leader of the Senussi to attack British-occupied Egypt from the west. In order to prepare the ground for this campaign, it was important to remove the threat posed by the Royal Navy. The operations of the U-35 and its sinking of HMS Tara were part of these preparations.
Once the threat from the Royal Navy had been reduced, U-35 commenced bombarding British camps and the Senussi forces crossed the Egyptian-Libyan border in late November 1915 to commence a campaign on the coast against the British forces in Egypt. The Senussi tribesmen, (with assistance from their Turkish advisors) forced British posts at Sidi Barrani and Sollum) to withdraw to the base at Mersa Matruh.
In response to the threat, four infantry battalions (the 1/6th Royal Scots, the 2/7th Middlesex, the 2/8th Middlesex and the 15th Sikhs) together with cavalry and Artillery support were brought together under the command of Maj-General Wallace, as the Western Frontier Force. In mid-December, attacks were made on the Senussi at Wadi Senab and Wadi Majid. Despite the British/Indian force being outnumbered (the Senussi had 5,000 men plus Turkish-supplied artillery and machine guns) progress was made with an attack on Halazin in late January.
The Battle of Agagia
The largest action took place on 26 February when the Senussi encampment was spotted by aircraft. What followed at Agagia (a locality about twelve miles inland of Sidi Barrani) resulted in the head of the Senussi forces being captured. The retreating Senussi were charged by the Dorset Yeomanry under heavy fire across 1,200 yards of open desert. The 184 men of the yeomanry attacked the 500 Senussi who were armed with four machine guns. This action resulted in casualties from the Dorset Yeomanry consisting of a total of 30 officers and men killed, including Major Reeves, with a similar number wounded.
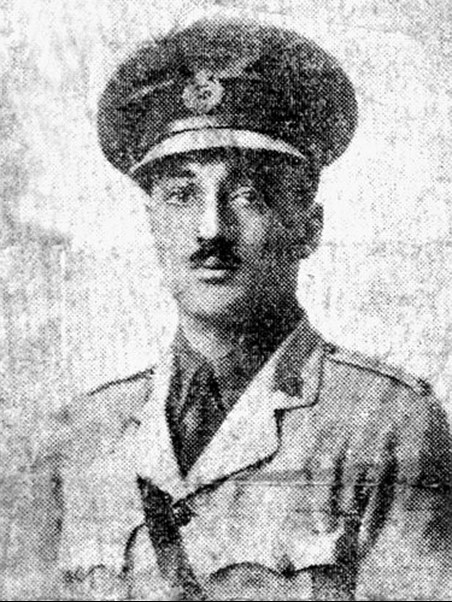
Above: Squadron commander, Major Victor Reeves who was killed during the charge. Image courtesy of the QODY Regimental Association, with thanks to the Keep Military Museum.
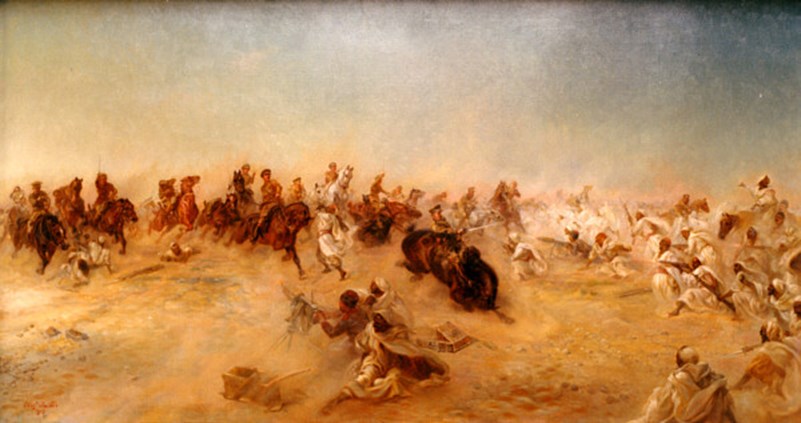
Above: Lady Butler’s painting of the charge of the Dorset Yeomanry. Image courtesy of Dorset County council, with thanks to the Keep Military Museum.
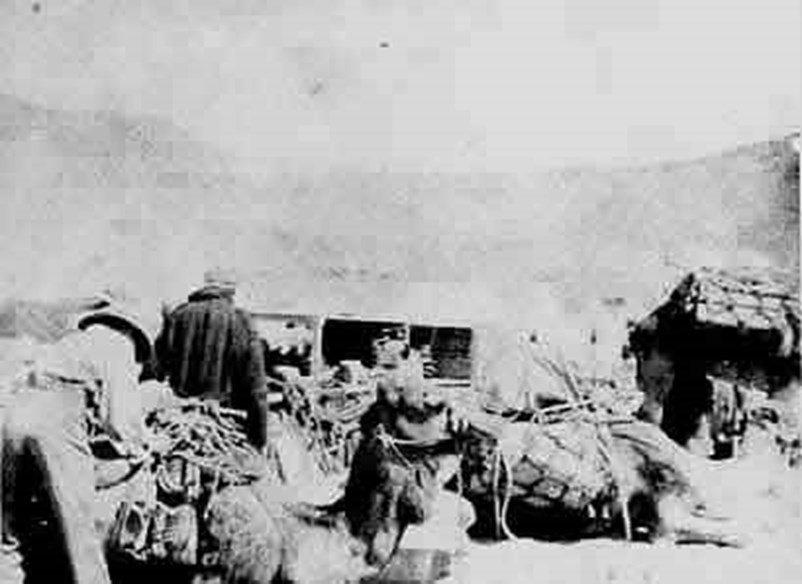
Photograph of British troops loading up camel transport at Sollum during the operations against the Senussi, April 1916. Camel Corps such as those shown in the photograph (belonging to the 2/7th Middlesex and the 6th Royal Scots) played an important part in quelling the Senussi revolt. Photograph courtesy of The National Archives, (original IWM Q15691)
The Duke of Westminster and the Rescue of the Prisoners
After the Battle of Agagia on 26 February 1916, the retreating Senussi were chased by British troops including the Armoured Cars under the command of the Duke of Westminster (a Major in the Cheshire Yeomanry).
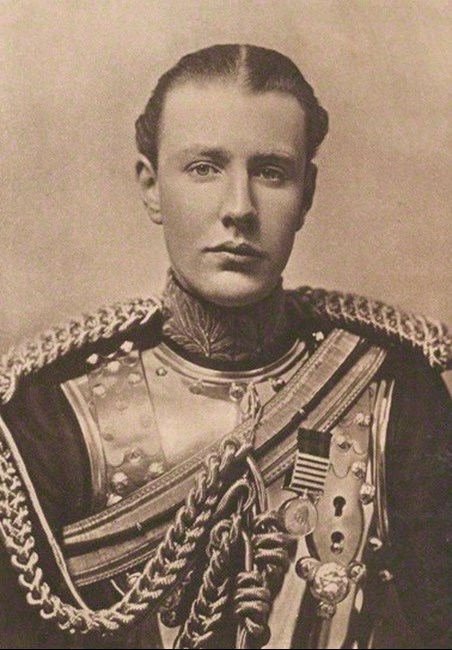
Above: Hugh Richard Arthur Grosvenor, 2nd Duke of Westminster in 1903
On 14 March, whilst the Armoured Cars were halted to repair one of the frequent punctures they suffered, a group of men investigated the wreck of an old car at the side of the track. Within the debris of the wrecked car was found an old letter addressed to a Turkish officer, written by Gwatkin-Williams. In this letter, Gwatkin-Williams detailed the location of the prisoners.
A number of locals, including an old, one-eyed tribesman, offered to guide the Duke’s armoured cars. Believing the prisoners were only about 70 miles away, the convoy of cars set off. In the first part of the journey, negotiating difficult terrain, they only managed to make about twelve miles per hour.
Undeterred by the terrain or the fact that they had continued beyond the supposed location of the prisoner’s camp, the armoured cars continued. The guides started arguing amongst themselves but the one-eyed tribesman remained certain that they should proceed.
The prisoners were on the point of starvation and in a fragile condition when, in the distance, came into view the Duke’s convoy. Some of the prisoners must have thought they were hallucinating, but the rescue column was real! Gwatkin-Williams describes the scene in Prisoners of the Red Desert:
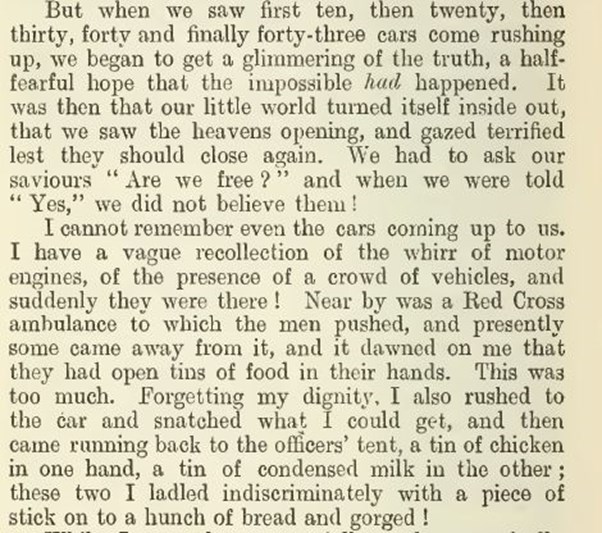
Above: An illustration from ‘Deeds that Thrill the Empire’ (a two volume work that was originally published immediately after the war). The original caption for this reads:
"On March 17th 1916, information was received that a number of shipwrecked men, who had been landed on the Cyrenica Coast of North Africa, were being held as prisoners by the Senussi at Bir Hakim, seventy miles from Sollum. At 3a.m. therefore, nine of the Duke of Westminster’s armoured cars, twenty six other cars and ten motor ambulances left for Bir Hakim guided by Captain Royle of the Egyptian Coast Guard service and two natives. On their arrival the prisoners were not there, and another forty miles were traversed before the camp was reached. On seeing the cars, the Senussi guards fled, but were pursued and killed, and the prisoners, numbering ninety-one, were rescued and brought back to Sollum. Most of them were survivors from the ‘Tara’ which had been sunk by a German submarine. The Germans had handed them over to the Turks and Arabs, who treated them barbarously."
Below: further detail from ‘Deeds that Thrill the Empire’


The Duke of Westminster was awarded the DSO for his leadership in this rescue. He had a colourful life, marrying three times and died in 1953, aged 74. The title of the Duke of Westminster is now held by Gerald Grosvenor, the 6th Duke of Westminster.
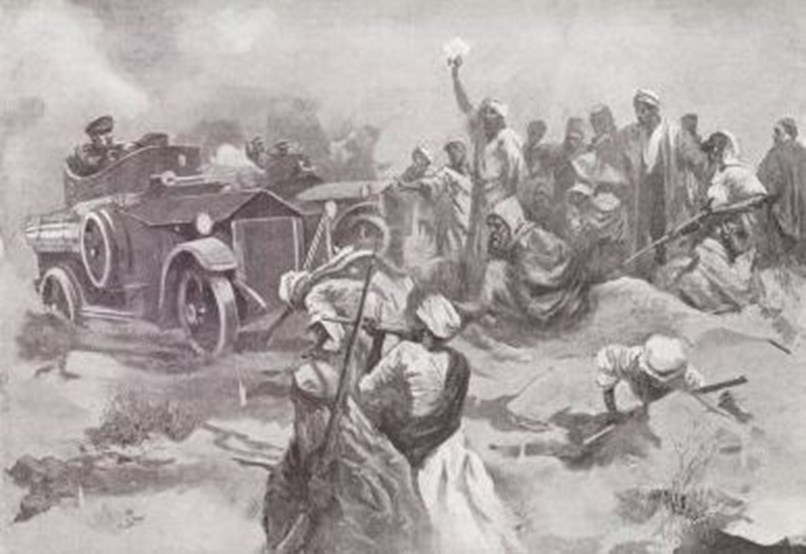
 Above: Eaton Hall Cheshire, the country seat of the Dukes of Westminster.
The last word on the episode should be left for Captain Gwatkin-Williams.
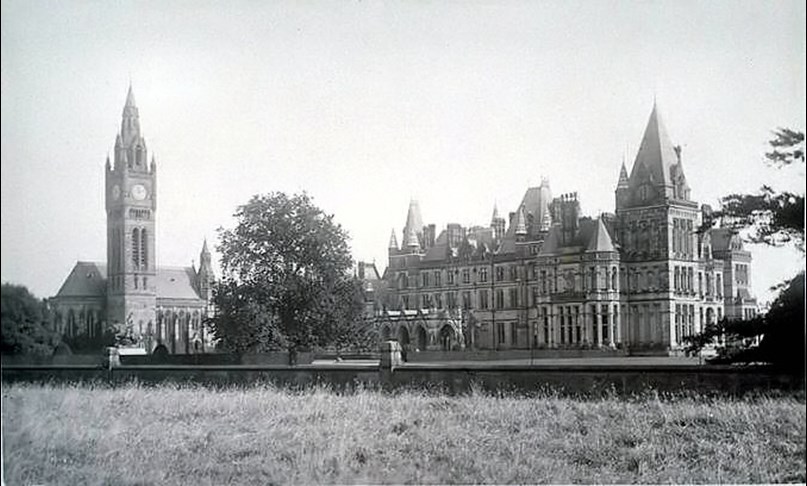
The passage above must be misdated as he mentions, after the Coliseum performance, an incident involving the a performance of the Bing Boys that same evening – a show which did not start until the following month.
Below: Survivors of HMS Tara, 1916. Is this a photograph taken prior to the entertainment described by Gwatkin-Williams?

Image courtesy of Casgliad y Werin Cymru / People’s Collection Wales © Anglesey County Record Office 2001
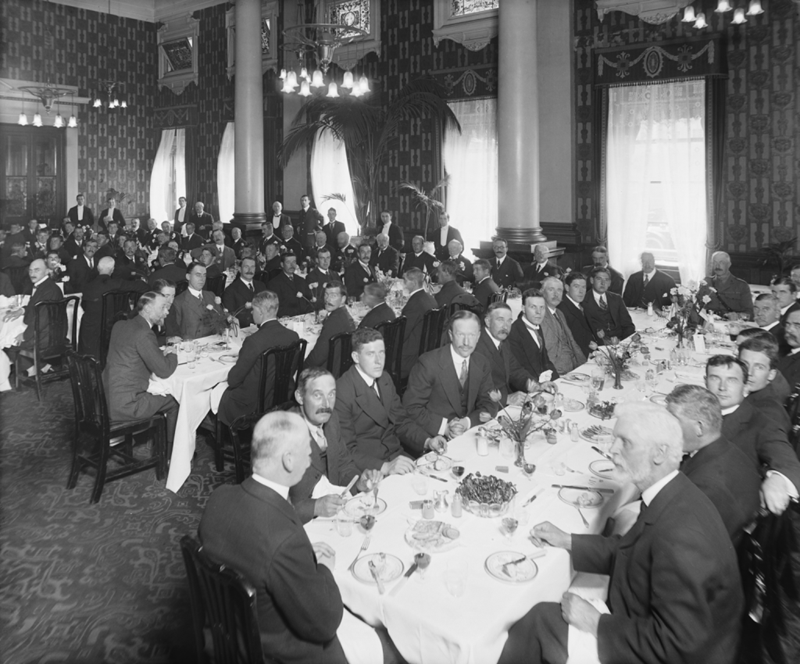 Tara Survivors at Euston Hotel 1916
Article by David Tattersfield
Further Reading:
One of the last true cavalry charges: an article about the charge of The Dorset Yeomanry at Agagia on 26 February 1916.
Source:
Prisoners of the Red Desert by Captain RS Gwatkin-Williams (introduced by the Hugh Richard Arthur Grosvenor, 2nd Duke of Westminster)