


Comparatively little outside of the Official History has been written about the defensive measures established to cover the initial transport of the British Expeditionary Force (BEF) to the continent in August 1914 and that may well be because of their success.
The Royal Navy, with its traditional global perspective, had held little enthusiasm for continental warfare, but it was nevertheless obliged to work with the Army to plan the effective transit of the BEF.
The initial priorities in the days before the British declaration of war had been to secure home waters, reinforce the northern isles and commit forces for the defence of the Channel.
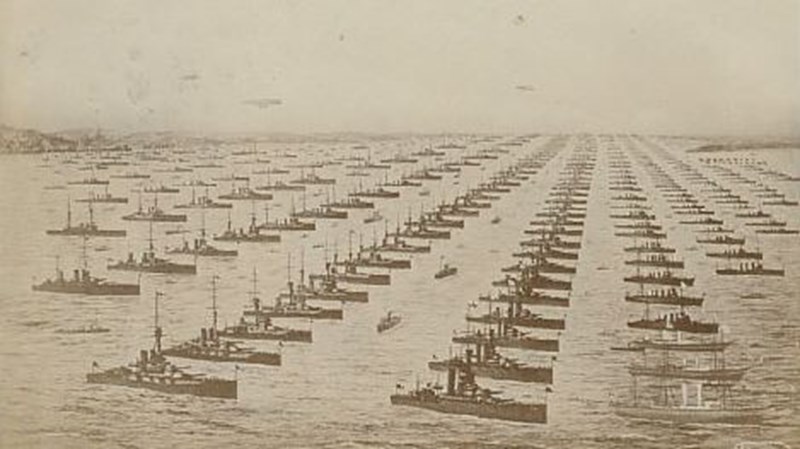
Above: The British Grand Fleet at Spithead in July 1914.
With the Grand Fleet in place north of Scotland for distant blockade, German ports were effectively sealed up, while the remaining mercantile vessels were obliged to stay interred in neutral ports to avoid interception by enemy cruisers.
Attention could now turn to the protection of the BEF transit.
The major concern for the troopships was the threat of attack by submarines or lighter surface forces such as torpedo-boats. A direct strike by the German High Sea Fleet was not thought probable, although it could not be completely discounted.
The transportation of the troops was to occur well within a region that could be controlled by the British fleet, and it was decided in principle not to employ convoys - the transports would sail independently, or in pairs, to minimise risk and protection would be provided by covering squadrons sealing both ends of the Channel.
The Channel Fleet, which initially comprised of 18 pre-dreadnought battleships plus four armoured cruisers and miscellaneous smaller craft, was to hold the primary responsibility for the region.
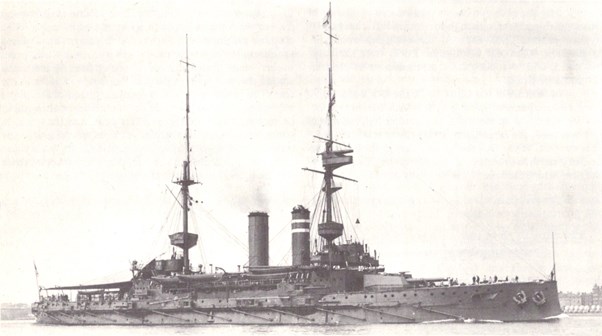
Above: HMS Prince of Wales, the pre-Dreadnought flagship of 5th Battle Squadron based at Portland
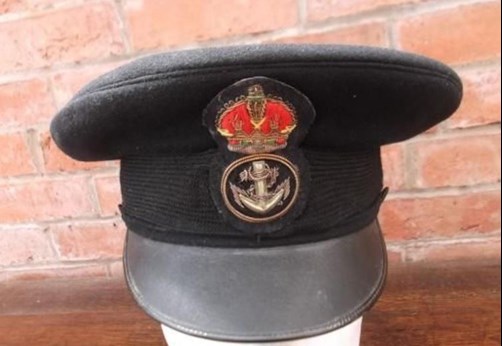
Above: A Royal Navy transport officer’s cap from 1914
The 5th Battle Squadron of nine battleships (including the Flagship) and four armoured cruisers, based at Portland, would provide heavy support in the event of any attempt by the Germans to break through the Straights of Dover.
The Straights themselves would be guarded by the Dover Patrol (6th Destroyer Flotilla) alongside French destroyers and submarines from Boulogne. Slightly north of this was a cordon of 12 submarines and a destroyer with airship and seaplane patrols available for submarine detection. Further out still were the 1st and 3rd Destroyer Flotillas based at Harwich.
The western entrance to the Channel was initially secured by the 7th and 8th Battle Squadrons with eight battleships, and the Anglo-French cruiser squadron composed of four British second-class cruisers and five French armoured cruisers. Their remit was to ensure mines were not laid across the routes to be taken by the troopships.
The Grand Fleet, far to the north, was to position itself to intercept the German High Sea Fleet in the unlikely event that it should attempt a direct attack.
Only a Life Saving Patrol with small craft was on the main troopship route from Southampton.
Transportation of the BEF was scheduled to take place between August 8th and 20th, with the bulk of the movement concentrated between the 12th and 18th.
The Channel arrangements worked effectively on a localised level, but arrangements with the Grand Fleet proved more problematic – this owing to the lack of a properly defended northern base and an increasing concern over submarines operating in the North Sea by as early as August 8th.
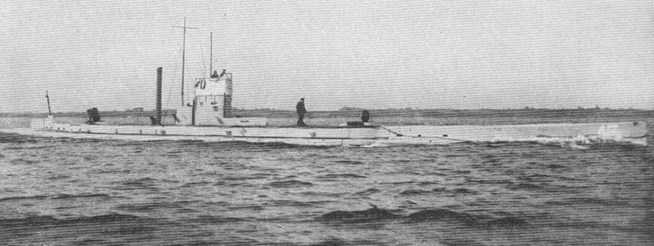
Above: The German submarine U-15 was the first German U-boat lost in the war after it was rammed on August 9 by the British cruiser HMS Birmingham.
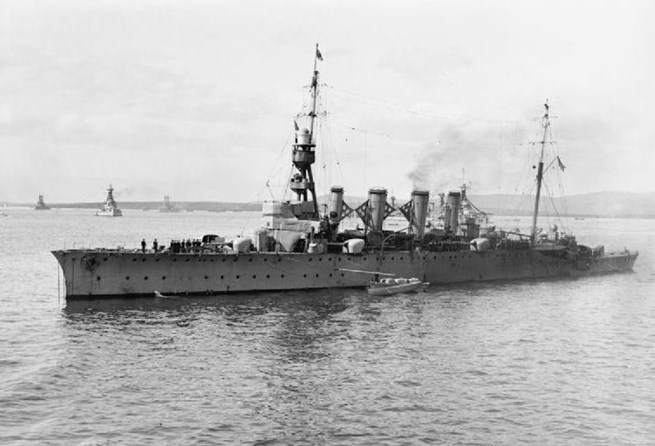
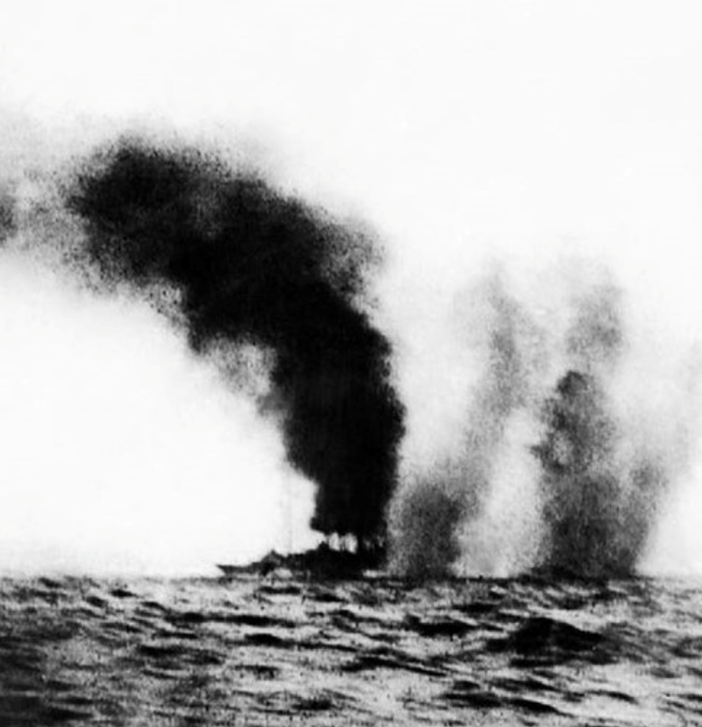
Above and below: HMS Birmingham, which sunk the German submarine U-15, but was to sustain heavy damage (as seen here) during the Battle of Jutland.
This threat that lurked beneath the waves for the troopships carrying the thousands of British soldiers would be dramatically underlined the following evening when the light cruiser HMS Birmingham rammed and sank the German submarine U-15 as the British vessel arrived at its holding location.
The fleet remained in place the following day but was then ordered to withdraw northwest of Orkney as there was no indication that the German High Sea Fleet intended an attack on the troop ships.
With additional measures being organised for a temporary base at Loch Ewe, the British Grand Fleet did however remain at sea while the expeditionary force crossed to France.
By 12th August, with the advance BEF parties now safely across, the greater part of the transit could begin and the next day the 11th Cruiser Squadron detached from trade-protection duties to cover the transit of V Division from Ireland to Le Havre - mainly to ensure no attempt at minelaying could be made along the route.
The 7th and 8th Battle Squadrons were withdrawn on 14th August to a holding position off Portland as the arrangements for securing the Channel were deemed secure.
The Grand Fleet was now recalled owing to renewed concerns over a possible attempt at a strike by the High Sea Fleet after the bulk of the BEF had departed, and a Southern [North Sea] Force of flotillas and supporting cruisers established to tour the Belgian coast from August 15-17 and ensure a total blockade of the Heligoland Bight. The Grand Fleet returned to Scotland at the end of these sweeps.
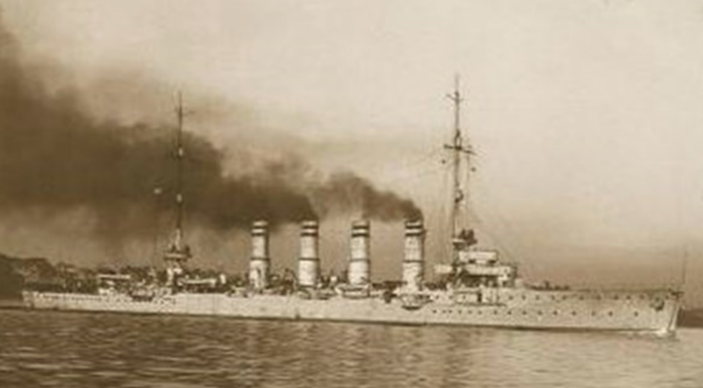
Above: The German cruiser Stralsund was involved in a chase.
The following day, the 18th, would prove to be the only day on which there was significant activity by the enemy, when a small force of two German light cruisers and two submarines arrived off the southern part of the North Sea. One of the cruisers, Stralsund, was involved in a skirmish with HMS Fearless, but broke off when a second British light cruiser arrived.
The decision by the Army to commit an extra division of the BEF meant that the date originally scheduled for completing the initial transportation of the troops was extended, but this additional work was completed without incident.
Thanks to the help of the Royal Navy, the BEF had landed safely on the Western Front.
Original article and research Scott Lindgren. Edited by Dr Martin Purdy.